Stripe Integration With Xero A Guide for Australian Businesses
Master the Stripe integration with Xero. Our guide for Australian businesses covers connecting accounts, handling GST, fees, and automating reconciliation.
Payly Team
January 1, 2026
If you’re running a service business in Australia, you know the drill. Juggling client work is one thing, but keeping on top of the financial admin is a whole other beast. Chasing invoices, manually keying in payments, and trying to reconcile everything at the end of the month: it’s a massive time sink and, frankly, a bit of a headache.
This is where connecting your Stripe and Xero accounts changes the game. It's not just about convenience; it's about getting a firm grip on your cash flow and freeing up your time to do what you actually do best.
Why Bother Connecting Stripe and Xero? The Real-World Impact
Let's be honest, manual data entry is tedious and a breeding ground for mistakes that can mess with your books and make tax time a nightmare. When you properly integrate Stripe with Xero, you're essentially putting your payment and reconciliation process on autopilot.
When a client pays your invoice through Stripe, the whole transaction (payment, fees, and GST) flows directly into Xero. This creates a seamless loop that gives you a crystal-clear, real-time picture of your business's financial health.
Get Paid Faster and Supercharge Your Cash Flow
The most immediate win you'll notice is how much faster money hits your bank account. By adding a simple "Pay Now" button to your Xero invoices, you give clients an easy, instant way to pay with their credit or debit card. No more waiting around for bank transfers to clear or chasing up late payments.
The numbers don't lie. On average, Australian Xero users who accept payments via Stripe get their invoices paid 14 days faster. This isn't a random figure; it's based on a decade of partnership data between the two platforms. With over 500,000 Australian businesses now relying on Stripe, it's clear this integration has become a cornerstone of modern business operations. You can get more insights from Stripe's ten-year journey in Australia.
Take Back Hours of Your Week from Manual Admin
Think about the old way of doing things. A Sydney-based digital agency, for example, would have to create an invoice in Xero, email it, wait for the client to pay, log into Stripe to verify the payment, manually calculate the processing fee, and then create all the matching entries in Xero. You could easily blow 15 minutes on a single invoice. If they send 20 invoices a month, that’s five hours of valuable time down the drain.
Now, picture the new workflow. The invoice goes out from Xero with a payment link. The moment the client pays, the invoice is automatically marked as 'Paid' in Xero, and a bank feed is set up to handle all the transaction details. Simple.
This is more than just shaving a few minutes off your admin tasks. It’s about completely overhauling your financial workflow, giving you back hours every month to pour into billable work, client relationships, or simply growing your business.
To break it down, here’s a quick look at the main advantages of this integration.
Key Benefits of the Stripe and Xero Integration
| Benefit | Impact on Your Business |
|---|---|
| Automated Reconciliation | Stripe payouts and fees are automatically fed into Xero, making your bank reconciliation faster and far more accurate. |
| Real-Time Financial Clarity | Your Xero dashboard becomes a live snapshot of your revenue and cash flow, helping you make smarter, faster decisions. |
| Improved Client Experience | Offering a slick, professional payment process not only looks good but makes it genuinely easier for clients to pay you. |
Ultimately, integrating these two powerful tools is one of the smartest moves an Australian service business can make to simplify its operations and improve its financial stability.
Connecting Your Accounts the Right Way
Getting the link between your Stripe and Xero accounts right from day one is the single most important thing you can do for clean, automated bookkeeping. A solid setup prevents countless headaches down the track and ensures your financial data flows exactly as it should.
For an Australian service business, this process has two main components. First, you’ll enable Stripe as a payment service on your invoices. Second, you’ll get the Stripe bank feed running.
Adding Stripe to your invoices is all about getting paid faster. It pops a simple ‘Pay Now’ button onto the invoices you send out, letting clients pay instantly with their credit card. This simple tweak can do wonders for your cash flow, turning a static PDF into a direct payment tool.
The bank feed, on the other hand, is where the real automation kicks in. It automatically pipes all the transaction data (sales, fees, and payouts) from Stripe straight into Xero. This is the engine that will power your reconciliation.
Your Pre-Flight Checklist for a Smooth Setup
Before jumping in, it’s smart to have a few key details ready. Think of it like getting your ingredients prepped before you start cooking; it just makes the whole process smoother.
Here’s what you should have on hand:
- Xero Login Details: You’ll need administrator access to your Xero organisation to add and configure new services.
- Stripe Account Credentials: Have your Stripe email and password handy to authorise the connection. Make sure you’re the account owner or have the right permissions.
- Business Bank Account Details: This is the account Stripe will pay your money into. Have the BSB and account number set up in Xero.
To get the most out of this guide, it helps to first understand the basics of how to integrate a payment gateway. That context gives you a solid foundation before we dive into the specifics of the Stripe and Xero setup.
Activating the Stripe Payment Service in Xero
The easiest way to kick things off is directly from your Xero dashboard. You don’t even need to open another browser tab.
Just head into your Xero settings and find the 'Payment services' area. This is your command centre for managing all the ways clients can pay you.
As you can see, Xero makes it pretty obvious with a big "Get started with Stripe" button. Clicking this will prompt you to log in to your Stripe account to authorise the connection.
A critical tip for Australian businesses: During setup, Xero will ask you to select a bank account for payments. For now, just choose your main business transaction account. We're going to refine this later by setting up a dedicated clearing account, which is a much cleaner way to handle things.
Once the connection is live, you can apply Stripe to your invoice branding themes. This is a crucial final step that makes sure every invoice you send actually includes that all-important ‘Pay Now’ button. It’s a small detail that looks professional and makes it dead simple for clients to pay you on the spot.
Mapping Your Chart of Accounts for Flawless Reconciliation
So, you’ve connected Stripe and Xero. Good start, but the real work begins now. You need to tell Xero exactly where to put the money coming in from Stripe. This is all about mapping your Chart of Accounts; think of it as creating a clear road map for every dollar, fee, and GST component.
If you get this right, reconciliation becomes a breeze. If you don't, you're looking at a tangle of miscategorised income and expenses, which is a massive headache come tax time. To get this set up cleanly, you'll need to create a couple of specific accounts in Xero first.
This setup process is foundational for accurate financial tracking.
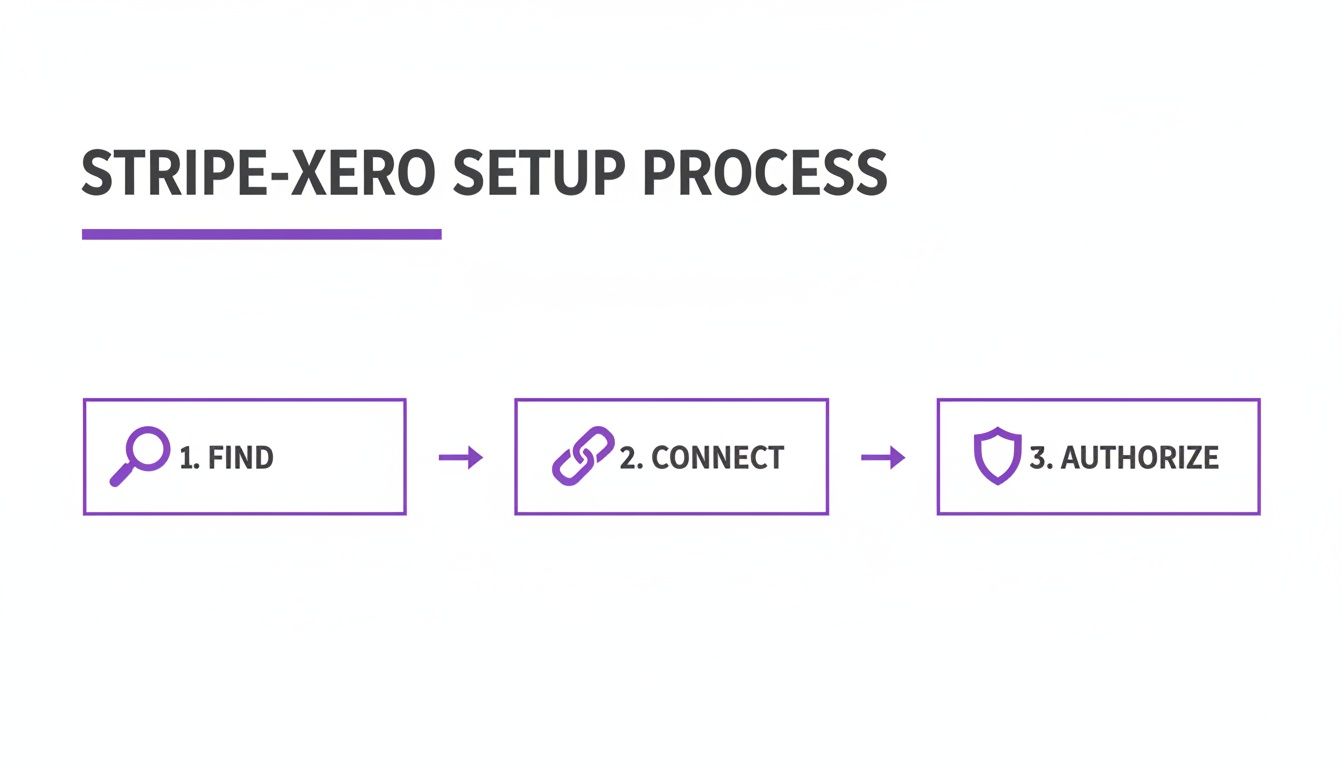
As the diagram shows, finding the app and authorising the connection are just the gateways. The detailed account mapping is what makes the integration truly work for your business.
The Essential Accounts You Need to Create
To properly track the money flowing from Stripe to your actual bank account, you can't just lump it all into one place. This is where a Stripe Clearing Account becomes your best friend.
Think of it as a virtual, temporary holding bay inside Xero for your Stripe income. Every gross payment from your customers lands here first.
The reason this is so critical is that it allows you to reconcile the full invoice amount against the smaller, net payout that Stripe eventually deposits into your bank. When that payout hits your bank feed, you just record it as a transfer from the clearing account, and the balance of that clearing account should drop back to zero. Simple.
You’ll also need a dedicated expense account for Stripe Fees. This makes sure every single processing fee is categorised correctly as a business expense, making it easy to see exactly what you’re spending and what you can claim.
Here’s how to create them in Xero:
- Head to Accounting > Chart of Accounts.
- Click Add Account.
- For the clearing account, choose the Account Type 'Bank'. Call it something obvious like 'Stripe Clearing' and assign a unique code.
- For the fees account, set the Account Type to 'Expense'. Name it 'Stripe Fees' or 'Bank Fees - Stripe'.
This separation is non-negotiable for clean bookkeeping. It creates a perfect audit trail and pulls Stripe's fees out from your other business costs, giving you a much clearer picture of your cost of sales.
A Practical Example: A Sydney Consulting Firm
Let’s run through a common scenario. A Sydney-based consulting firm invoices a client for $1,100 ($1,000 service fee + $100 GST) through Xero. The client clicks the 'Pay Now' button and pays with their card via Stripe.
First, the full $1,100 gross payment hits the 'Stripe Clearing' account in Xero. This instantly marks the invoice as paid, which is a great cash flow win.
Next, Stripe takes its cut. Let’s assume their fee is 2.9% + 30c, which works out to $32.20. This fee is automatically posted to your 'Stripe Fees' expense account.
Properly tracking the GST portion is crucial for your BAS reporting. If you need a refresher on getting your invoices right, have a look at our guide on the perfect GST invoice template for Australia.
Finally, a day or two later, Stripe pays out the net amount to the firm’s business bank account. The deposit will be for $1,067.80 ($1,100 - $32.20). When this transaction appears in your bank feed, you’ll reconcile it as a 'transfer' from the 'Stripe Clearing' account.
And just like that, the balance in your clearing account is back to $0.00, ready for the next payment.
This structured approach turns a potentially messy jumble of transactions into a logical, easy-to-follow process. It’s this kind of organisation that has made the Stripe and Xero partnership so powerful since it began in 2013. In fact, it's helped Australian small businesses get paid almost twice as fast, which is a game-changer for managing cash flow.
Dealing with Payouts, Fees, and Multi-Currency Transactions
Okay, so you’ve got Stripe and Xero talking to each other. Now comes the real work: managing the day-to-day flow of money. This is where a properly set up integration moves from being a neat trick to an essential part of your financial toolkit, especially when you start juggling payouts, fees, and foreign currencies.
The whole point is to make sure every dollar is accounted for, from the moment a client pays you to when the money actually lands in your bank account.
Let's break down how to handle the most common scenarios you'll face.
How to Reconcile Stripe Payouts in Xero
That "Stripe Clearing Account" we set up earlier? This is its moment to shine. Think of it as a temporary holding bay for your money before it officially hits your business bank account.
Stripe doesn't pay you for every single transaction. Instead, it bundles them up and sends you a lump sum payout. This amount is net, meaning it’s the total of your sales minus all the processing fees. Trying to match that one bank deposit against ten different invoices would drive you mad. The clearing account method avoids this headache entirely.
Here's the simple workflow:
- Money In: Every customer payment hits your Stripe Clearing Account in Xero, matching the full invoice amount.
- Fees Out: Stripe's fees are posted separately as a withdrawal from the clearing account, going straight to your 'Stripe Fees' expense account.
- The Payout: When the final payout from Stripe (say, $2,540.50) shows up in your main bank feed, you don't match it to invoices. Instead, you reconcile it as a transfer from the Stripe Clearing Account.
This transfer effectively empties the clearing account. Once all the payments and fees for that payout period are accounted for, the balance in your Stripe Clearing Account should be $0.00. If it’s not, that's your cue to investigate; a transaction has likely been missed or miscategorised.
Getting Stripe Fees and GST Right
This is a detail that trips up a lot of Aussie businesses, but it's crucial for your Business Activity Statement (BAS) lodgements.
Here’s the key thing to know: Stripe is registered for GST in Australia. That means its processing fees include GST, and you can (and should) claim that GST back as a credit.
When you create your 'Stripe Fees' expense account in Xero, just make sure you set the default tax rate to "GST on Expenses".
Doing this tells Xero to automatically find the 10% GST component on every fee it sees. You'll be claiming every GST credit you're entitled to without lifting a finger.
This one small setup step ensures your BAS is correct every single time. It stops you from under-claiming GST credits, which can really add up over a financial year.
Handling Clients Who Pay in a Different Currency
If you work with international clients, dealing with foreign currency is just part of the job. Your Stripe integration with Xero is designed for this, but it helps to know what's happening behind the scenes.
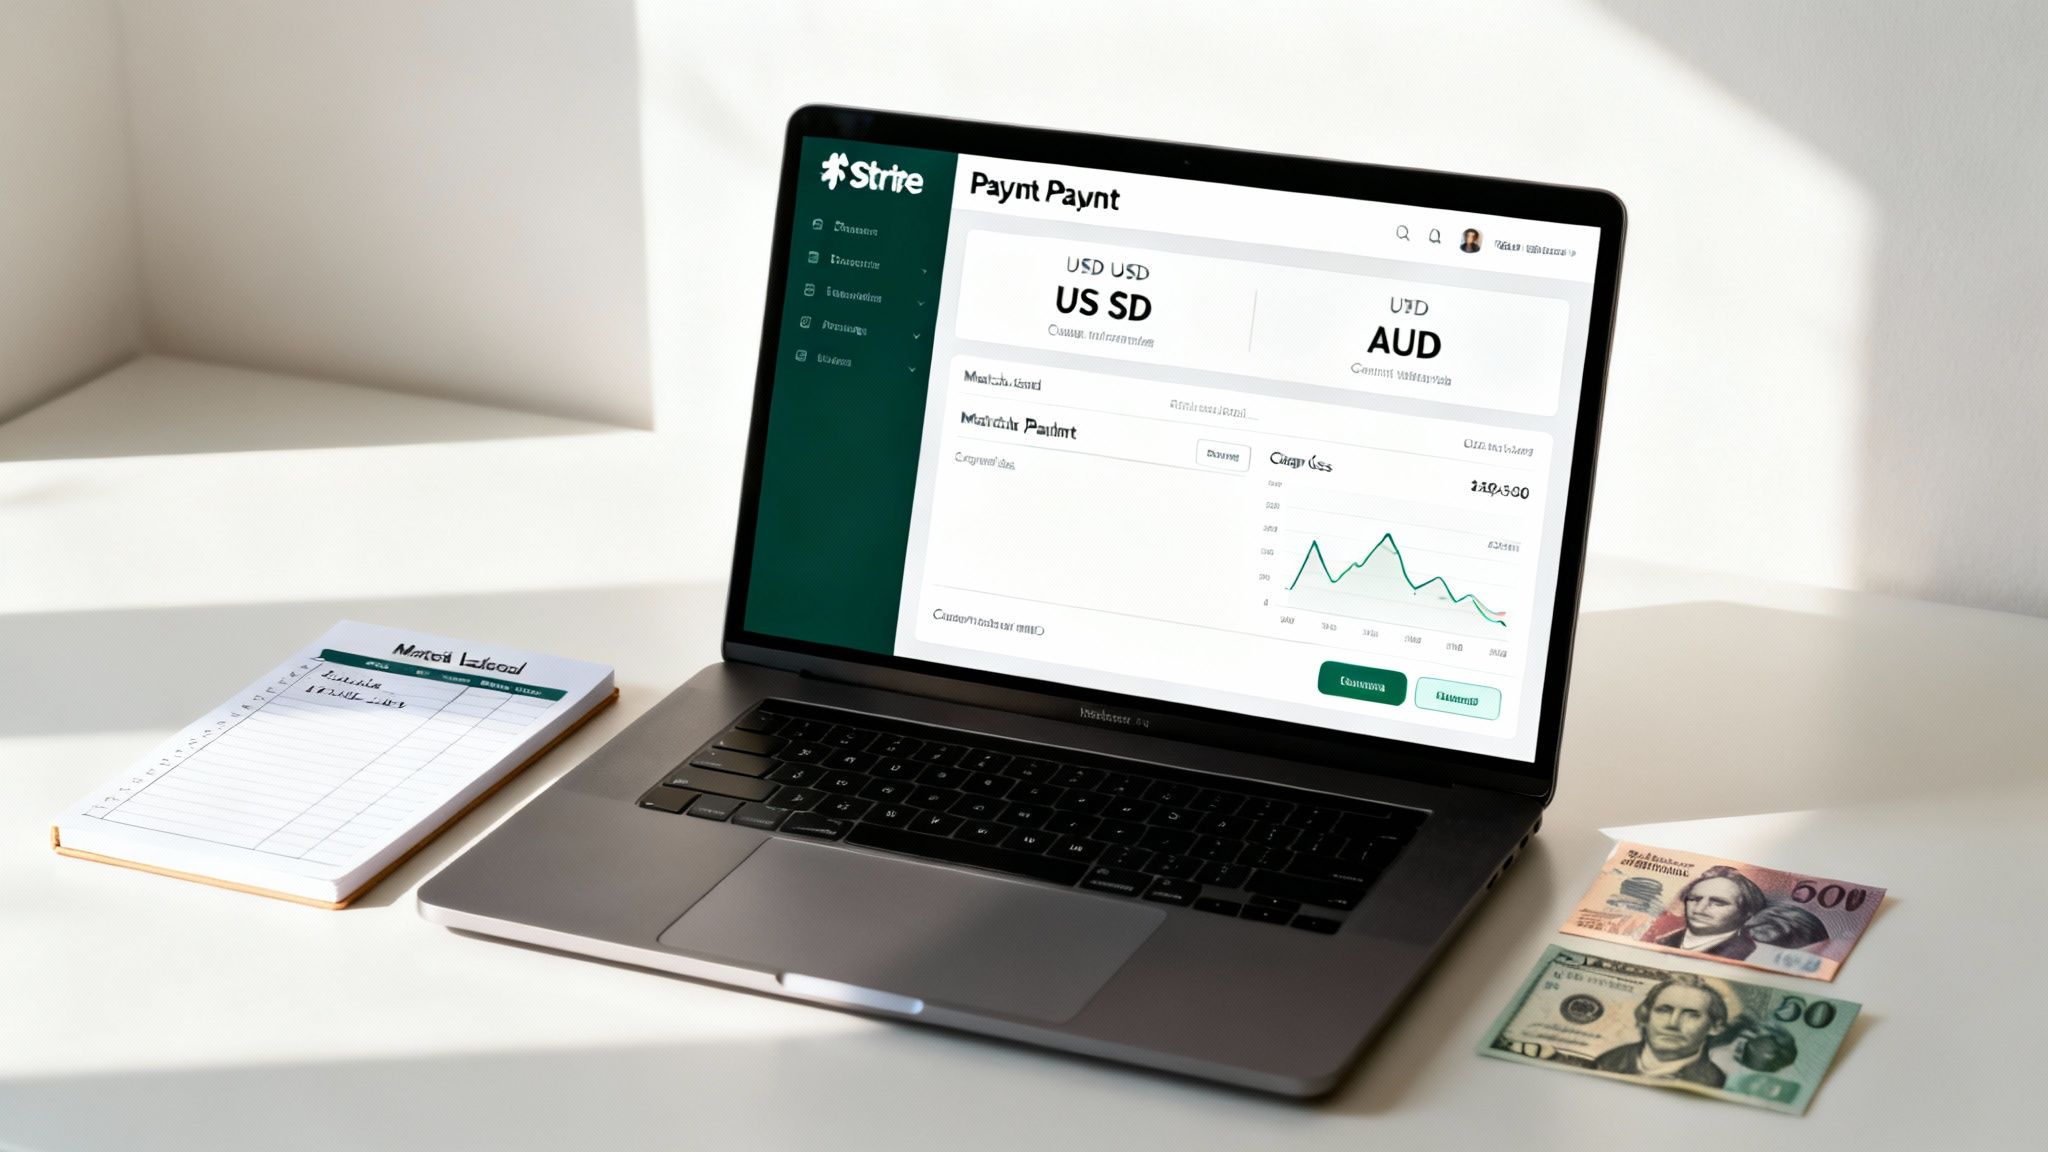
Let's say your Melbourne-based agency invoices a US client for $1,000 USD.
What the System Does
Your client pays the $1,000 USD invoice through Stripe. Stripe does the currency conversion on the fly and deposits the Australian dollar (AUD) equivalent into your account.
If you're on a Xero plan that supports multi-currency, it tracks this perfectly. The invoice is recorded in USD, but Xero also calculates the expected AUD value based on the exchange rate on the day the invoice was created.
The catch is that exchange rates are always moving. The rate when you sent the invoice will almost certainly be different from the rate when the payment finally settles. This creates a tiny difference, known as a realised currency gain or loss.
How Xero Deals with Currency Gains and Losses
You don't need to worry about the maths here; Xero handles it. When the final AUD payout lands, Xero compares the actual amount you received with what it originally expected.
It then automatically creates a journal entry for the difference and posts it to an account called "Realised Currency Gains/Losses." This makes sure your books balance to the cent and your reporting in Australian dollars is spot on for tax time. It’s this kind of automation that really shows the power of a well-oiled Stripe integration with Xero.
Putting Your Reconciliation on Autopilot with Bank Rules
If you're manually coding every single Stripe fee and payout transfer, you're missing the point of connecting these two platforms. The whole idea is to save time, not create more admin work. We want to get as close to a zero-touch reconciliation process as possible, and Xero’s Bank Rules are your ticket there.
Think of Bank Rules as simple 'if-then' instructions you give Xero. Instead of you having to tell it what to do with every transaction that hits your bank feed, the system spots them based on criteria you've set and just handles it for you. It's a beautiful thing.
Taming Stripe Fees with Your First Bank Rule
Let's start with a really practical example: those pesky Stripe fees. Every time Stripe processes a payment, it takes its cut, which shows up as a transaction line in your Stripe Clearing Account feed. A well-crafted bank rule can spot these and code them correctly every single time, without you lifting a finger.
To get started, head over to the ‘Reconcile’ tab for your Stripe Clearing Account and find a recent Stripe fee. When you click on it, you’ll see an option to ‘Create rule’.
Xero’s rule builder is surprisingly straightforward. You just need to tell it what to look for and what to do when it finds it.
- The Condition: Set the first condition so that ‘Any text field’ contains ‘Stripe Fee’. Honestly, this is usually enough for Xero to grab the right transaction every time.
- The Contact: You can assign ‘Stripe’ as the contact.
- The Allocation: This is the most important part. Here, you'll tell Xero to allocate 100% of the transaction amount to your ‘Stripe Fees’ expense account. Make sure you set the tax rate to ‘GST on Expenses’.
- The Target: Finally, ensure the rule is set to run only on your ‘Stripe Clearing Account’.
Save the rule, and Xero will immediately get to work, finding and matching all past and future Stripe fees. Just like that, you've automated a huge chunk of your bookkeeping.
I’ve found that setting up just one or two of these smart bank rules can automate over 80% of your Stripe reconciliation. This isn't just about saving a few seconds here and there; it’s about building a reliable system that cuts down on errors and genuinely frees up hours of your time each month.
Xero Bank Rules vs. Third-Party Tools
For most Australian service businesses I work with, Xero's built-in bank rules are more than enough. They’re simple, they're included in your subscription, and they handle the most common transactions perfectly.
But what if you need something more complex? That's where third-party automation platforms can come into play.
For instance, a tool like Zapier lets you build multi-step workflows, or "Zaps." You could create a process that triggers when a Stripe payment comes in, which then automatically creates a detailed sales receipt in Xero and adds that customer to a specific email list in Mailchimp. To see what’s possible, it’s worth looking into best practices for setting up automations for your business.
While these tools are powerful, they do add another monthly bill and an extra layer of complexity to your tech stack. For many, the direct Stripe integration with Xero, supercharged by native bank rules, is the most practical and cost-effective solution.
To help you figure out what's best for you, here’s a quick rundown of the two approaches.
Automation Methods for Stripe Reconciliation in Xero
| Method | Best For | Complexity | Cost |
|---|---|---|---|
| Xero Bank Rules | Most service businesses with standard invoicing and payment needs. | Low | Included with your Xero subscription. |
| Third-Party Tools | Businesses needing complex, multi-app workflows beyond simple accounting. | Medium to High | Additional monthly subscription fees. |
My advice? Always start with Xero’s bank rules. They are incredibly effective at cleaning up your reconciliation process. You can always explore more advanced tools down the track if your business operations outgrow them.
Taking Your Workflow to the Next Level with Native Integrations
Connecting Stripe directly to Xero is a fantastic step, but it often only solves one part of a bigger puzzle. For service businesses in Australia, the real game-changer is linking the entire process together: from tracking your first billable hour right through to the final reconciled payment in your books.
This is where platforms built for service businesses truly shine. Think of a tool like Payly, which is designed to be the glue between all the moving parts. It uses native integrations to pull your time tracking, invoicing, and payments into one smooth, connected system.
Seeing a Unified Workflow in Practice
Let’s walk through a common scenario for a freelance consultant. They start by tracking their project hours in Payly. When it's time to invoice, the system automatically pulls those tracked hours into a professional, GST-compliant invoice. No more double-checking timesheets.
With a single click, that invoice is on its way to the client, complete with a Stripe payment link built right in. The client pays, and here’s where the magic happens: Payly automatically pushes the paid invoice details straight into the consultant's Xero account.
What this does is move you beyond a simple payment connection. You're creating a single source of truth that closes the manual gaps between tracking time, sending an invoice, getting paid, and updating your accounts.
An integrated workflow like this massively cuts down on the human error that always seems to pop up when you're jumping between different apps. The entire journey, from time entry to accounting record, becomes one automated flow.
Tools offering this level of integration don't just add a feature; they make both your Stripe and Xero accounts more powerful by tying your whole operation together. To see how different options compare, it's worth checking out some of the best invoicing software for Australia and looking specifically at how they manage these end-to-end workflows.
Got Questions About Your Stripe and Xero Setup?
Even after you've got everything connected, a few questions almost always pop up. Let's tackle some of the most common ones I hear from businesses to keep your financial records clean and organised from day one.
So, what happens when you need to process a refund? It's a great question. When you issue a refund in Stripe, it automatically syncs over to Xero. You'll see it show up as a transaction in your Stripe Clearing Account, which debits the amount and keeps everything perfectly balanced for reconciliation.
Another frequent query is about old transactions. Can you bring your past Stripe history into Xero? The official integration typically only starts syncing data from the moment you connect it. It won't automatically import historical data, so if you need to bring in months or years of past transactions, you’ll likely have to do a manual import using CSV files.
How Do We Handle Sync Errors?
It’s a fair concern; what happens if a transaction just fails to sync? Sometimes API connections have a temporary hiccup. Most of the time, these little errors fix themselves on the next attempt. If a problem sticks around, it’s usually something like an incorrect account mapping in your Chart of Accounts or a recent change in user permissions.
My best tip is to keep an eye on your Stripe Clearing Account. Does the balance regularly return to zero after each payout? If it doesn't, that's your red flag. A lingering balance is the surest sign that a payment, fee, or refund has been missed or miscategorised and needs a closer look.
What If Our Invoicing Is More Complex?
Sometimes a basic invoice just doesn't cut it, especially for detailed project work with specific payment terms. For these more complex billing situations, you might need a more robust invoicing process. To get a better handle on this, you can learn more about how to send an invoice that’s clear, professional, and encourages prompt payment. This knowledge is a great complement to your integration, making your entire billing workflow seamless.
Ready to stop juggling multiple apps and get your entire business workflow in one place? Payly brings together time tracking, invoicing, e-signatures, and more on a single platform built for Australian businesses. It integrates smoothly with Stripe and Xero. Start your free 14-day trial and discover how much simpler your operations can be.
Payly Team
Sharing insights and strategies to help service businesses thrive. Follow Payly for more tips on time tracking, invoicing, and business operations.
Related Articles


Ready to streamline your business?
Join thousands of freelancers and agencies who use Payly to track time, send invoices, and get paid faster.