A Guide to Stripe and Xero Integration
Unlock seamless accounting with this guide to Stripe and Xero integration. Learn to automate payments, invoicing, and reconciliation for your business.
Payly Team
December 2, 2025
Connecting Stripe and Xero isn't just about ticking a box for convenience. It's a genuine strategic move that gives you back a huge chunk of your most valuable resource: time. Think of this integration as building a direct pipeline from your payment processor straight into your accounting software. It cuts out the soul-destroying task of manual data entry and kills off the reconciliation errors that always seem to creep in.
For Aussie businesses, getting these two systems talking means invoices get paid faster, GST tracking becomes less of a headache, and you get a real-time, honest look at your cash flow.
Why This Integration is a Genuine Game Changer
Let's be real: manually plugging Stripe transactions into Xero is a massive time sink and a recipe for mistakes. Every single sale, fee, and refund has to be meticulously accounted for. What seems simple on the surface quickly becomes a major admin burden, wasting hours and creating a lag between when money hits your account and when your books actually show it.
A direct integration completely automates this whole dance.
When a client pays your invoice via Stripe, the magic happens in the background. The payment gets logged in Xero, the invoice is automatically marked as paid, and those pesky Stripe processing fees are neatly categorised. You get a seamless flow of financial data, giving you an accurate, up-to-the-minute picture of your business's health without you having to lift a finger.
Faster Payments and Healthier Cash Flow
One of the first things you'll notice is how much quicker you get paid. It’s not just a feeling; the numbers back it up. Xero has found that their customers get paid, on average, 14 days faster when they use Stripe. This is a big deal, especially when you consider that late payments for smaller Aussie firms are often three times higher than for bigger companies.
This automation fundamentally changes your accounts receivable. You stop chasing payments and instead offer clients a simple "Pay Now" button on their Xero invoices. It becomes dead simple for them to pay you on the spot.
As a freelancer or small agency owner, getting paid two weeks earlier is massive. It's the difference between comfortably covering your bills and anxiously watching your bank account. That's cash flow that directly impacts your ability to operate and grow.
To help you visualise the benefits, here’s a quick breakdown of why this integration is so powerful for Australian businesses.
Key Benefits of Integrating Stripe with Xero
| Benefit | Impact on Your Business |
|---|---|
| Time Savings | Radically reduces manual data entry and reconciliation time, letting you focus on core business activities. |
| Improved Cash Flow | The "Pay Now" button on Xero invoices leads to faster payments, often cutting down payment times by weeks. |
| Enhanced Accuracy | Automating data transfer eliminates human error, ensuring your financial records are always reliable. |
| Simplified GST/BAS | Correctly configured, the integration makes tracking GST on sales and preparing your BAS much more straightforward. |
| Real-Time Financial View | Your Xero dashboard reflects your true financial position as transactions happen, not weeks later. |
Ultimately, this integration provides a solid, trustworthy foundation for your business finances, which is exactly what you need to make smart decisions.
Nail Your Financial Accuracy and Clarity
A proper Stripe and Xero connection does more than just save you time; it locks in the accuracy of your financial records. Without it, it's easy to miscalculate your revenue by forgetting to account for Stripe fees or incorrectly logging the GST component of a sale.
The automated link gives you a few key advantages:
- Automated Reconciliation: Stripe payouts are automatically matched against your Xero bank feeds, which makes balancing the books incredibly simple.
- Accurate Fee Tracking: Those little processing fees are automatically recorded as a separate business expense, giving you a much clearer picture of your actual profitability.
- Streamlined GST Reporting: Once it’s set up right, the integration helps track the GST on your sales, which takes a lot of the pain out of BAS time.
By connecting these two powerhouses, you're building a reliable system for your finances. To see how this fits into the bigger picture, have a look at our guide on invoicing software for small business.
Connecting Your Stripe and Xero Accounts
Getting Stripe and Xero to talk to each other is the first hurdle, but thankfully it’s a pretty simple one. Nailing this initial connection is what makes all the time-saving automation possible later on, so let’s get it right.
First up, a quick admin check. You’ll need to be an administrator in both your Stripe account and your Xero organisation. This is just a standard security check to make sure you have the authority to link up these two powerful systems.
Kicking Off the Connection
The easiest and most reliable way to start the Stripe and Xero integration is directly from the Xero App Store. This ensures you're using the official, Xero-approved connection and not some third-party workaround.
Here's the path I always take:
- Start inside Xero: Head over to the Xero App Store and simply search for "Stripe."
- Pick the official app: You'll see the official Stripe for Xero application. Click on it and hit "Get this app."
- Give it the green light: You'll be taken through a secure authorisation flow. This is where you log in to Stripe and grant Xero permission to access your transaction data.
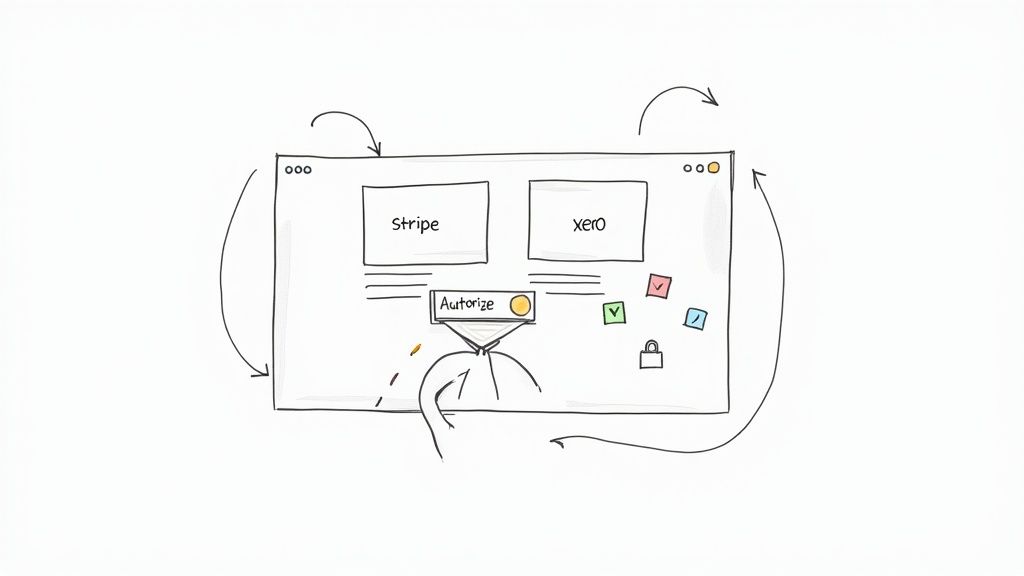
Think of this as the digital handshake between the two platforms. Once you click authorise, you’ve given Xero the key to automatically pull in your Stripe sales and fee data.
It’s a bit like giving your bookkeeper read-only access to your bank statements. You're allowing Xero to see what’s happening financially in Stripe, but you always have full control over both accounts.
Firing Up the Bank Feed
With the two apps connected, there's one last piece of the puzzle: setting up Stripe as a payment service in Xero. This is the step that really brings the automation to life.
Jump into your payment services settings within Xero (you'll usually find this under the 'Business' or 'Settings' tab) and add Stripe as a payment option.
The most important part here is to link Stripe to your invoice branding themes. Doing this tells Xero to add that slick "Pay Now" button to the invoices you email to clients, making it dead simple for them to pay you on the spot.
Once that's done, you’ll notice a new 'bank account' pop up in your Xero dashboard. This is your Stripe account. Transactions will start flowing in automatically, setting you up for a much cleaner and faster reconciliation process down the road.
Getting Your Accounts Set Up for a Headache-Free Reconciliation
Connecting the two platforms is one thing, but the real secret to a clean Stripe and Xero integration is how you structure your accounts in Xero. Honestly, getting this right from the get-go is the single most important step. It's the difference between automated bliss and a reconciliation nightmare down the track.
The trick is to think of your Stripe account not as your final bank account, but more like a digital cash drawer. It’s a temporary holding spot for your money before it gets paid out. To make this work smoothly in Xero, we need to create a couple of specific accounts in your Chart of Accounts before any transactions start flowing in. This isn't just about being tidy; it's crucial for tracking your true revenue against your business expenses.
First, Create a Stripe Clearing Account
You'll need what we call a "clearing account" in Xero. Don't worry, it's not a real bank account. It's just a virtual one inside your accounting software that will mirror all the activity happening in your Stripe dashboard.
Here’s how to set it up in Xero's Chart of Accounts:
- Account Type: Set this to 'Bank'. This is key because it allows you to treat it like a bank account for reconciliation purposes.
- Account Name: Call it something obvious. I usually go with ‘Stripe Clearing Account’ or ‘Stripe Holding Account’.
- Account Code: Just pick a unique code that fits in with the rest of your Chart of Accounts.
Every single sale, refund, and transaction that happens in Stripe will now pass through this clearing account. When a customer pays your $110 invoice (including GST), the full $110 lands here first. This is how you ensure you're recording your gross revenue correctly, which is vital for accurate sales reporting.
Next, Map Your Stripe Fees
Now for the fees. Stripe deducts a small percentage from every transaction, and we need a dedicated place to track this. These fees are a cost of doing business, so they need to be recorded as an expense, not just vanish from your revenue. If you don't separate them out, your sales figures will be artificially low and your expenses will be invisible, giving you a completely skewed picture of your business's health.
Let's create one more account in your Chart of Accounts:
- Account Type: This should be an 'Expense' or a 'Direct Cost' account.
- Account Name: Again, be clear. Something like ‘Stripe Merchant Fees’ or ‘Payment Processing Fees’ works perfectly.
- GST / Tax Rate: For those of us in Australia, Stripe's processing fees are generally input-taxed, which means they are GST Free.
Now, when a payout from Stripe hits your real bank account, the gross sale amount is matched against the invoice, and the fee portion is coded directly to this new expense account.
Here’s a practical example: Your client pays you $110. In Xero, you record $110 in revenue in the clearing account. Stripe takes its fee, let's say it's around $3. You code that $3 directly to your "Stripe Merchant Fees" expense account. The remaining ~$107 is what actually lands in your business bank account. See? Everything is perfectly balanced.
This method also makes it much easier to create professional and accurate client records. For a deeper dive on that, check out our guide on how you send an invoice with all the right details.
By setting up these simple accounts from the start, you build a solid system that handles sales, fees, and payouts cleanly. Your reconciliation suddenly becomes a simple matching game instead of a complex accounting puzzle.
Automating Invoice Payments and Cash Flow
Okay, with your accounts properly set up, it's time to unlock the real magic of connecting Stripe and Xero: getting your accounts receivable to run on autopilot. This is how you stop chasing invoices and start getting paid faster, seriously improving your cash flow.
The trick is all in the "Pay Now" button on your Xero invoices. When you connect Stripe as a payment service in Xero's settings, this button automatically appears on every invoice you email. It sounds like a small thing, but the impact is huge. Clients can pay you instantly with a credit card, which completely removes the usual delays of bank transfers and the classic "I'll get to it later" excuse.
The Automated Payment Workflow
As soon as a client clicks that "Pay Now" button and punches in their card details, a beautiful, seamless process kicks off behind the scenes. Stripe immediately tells Xero the payment has been made, and Xero marks the invoice as paid and closes it out. You don't have to do a thing. No more checking your bank statement, matching up random deposits, or manually updating invoice statuses.
This instant feedback doesn't just cut down on your admin work; it keeps your financial data perfectly synchronised. Your accounts receivable in Xero is always current, giving you an accurate, real-time picture of who has paid and what’s still owed. If you want to really nail this part of your business, we've got a detailed guide on professional invoicing that's worth a look.
This diagram shows you exactly how the money flows from Stripe payouts into your Xero accounts, separating sales revenue from fees.
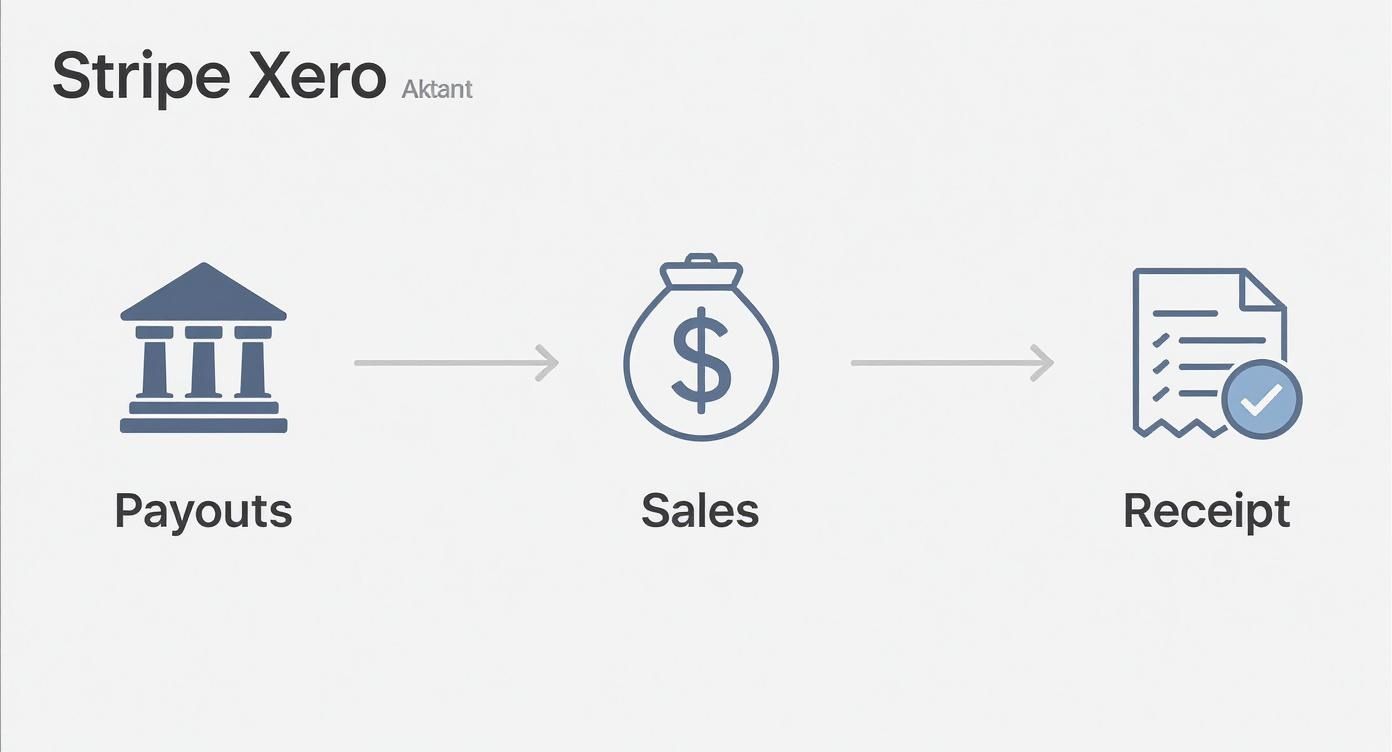
As you can see, this visualises how each part of the transaction is split out for clean bookkeeping. Your gross sales are recorded correctly before the fees are accounted for as an expense.
Reconciling Stripe Payouts in Xero
The last piece of the puzzle is dealing with the bulk payouts Stripe sends to your business bank account. These transfers are always net amounts; that is, your total sales minus all the Stripe processing fees for that period.
Because you've already set up the Stripe bank feed, this part is surprisingly simple. When you go to the reconciliation screen in Xero, you'll see the lump-sum deposit from Stripe. All you have to do is match that deposit against all the individual payments that have been piling up in your "Stripe Clearing Account."
The results of this kind of automation speak for themselves. Between 2019 and 2023, Stripe's payment volume in Australia shot up 5x. And the real kicker? Small businesses are now getting paid up to 14 days faster by using these automated systems.
Here's a real-world example:
Let's say Stripe sends a payout of $1,960 to your bank. You’ll see this deposit in Xero. You then match it against two separate client payments sitting in your Stripe Clearing Account (one for $1,000 and another for $1,000). The $40 difference is simply the Stripe fees, which you allocate to your "Stripe Merchant Fees" expense account. With just a few clicks, your books are perfectly balanced.
Managing Refunds, Chargebacks, and Disputes
Let's be realistic, not every transaction goes to plan. Refunds and chargebacks are a normal part of doing business, but if you don't handle them properly in your Stripe and Xero integration, they can create a real mess in your books.
Getting this process wrong is a fast track to reconciliation headaches, especially when BAS or tax time rolls around. Having a clean workflow for these exceptions is just as important as it is for a straightforward sale.
How to Process Refunds Correctly
When a customer asks for their money back, always, always start the process from your Stripe dashboard. Kicking off the refund in Stripe is what actually sends the money back to your customer and creates the official transaction record.
After you've done that, Stripe will push the refund information into your Xero bank feed. You'll see it pop up in your Stripe Clearing Account as a negative amount, which is the first step to reversing the original sale.
Here's how to match it up in Xero:
- For full refunds on an unpaid invoice: This one's easy. Just void the original invoice in Xero and you're done.
- For refunds on a paid invoice: The best way to handle this is by creating a credit note. You can then apply that credit note to the original paid invoice, which keeps everything balanced and above board.
- For partial refunds: A credit note is your best friend here, too. It lets you record the exact amount you're returning while leaving a clear record of the original sale.
Using credit notes gives you a perfect audit trail. It shows the initial payment and the later refund, ensuring your revenue reporting stays spot-on.
Accounting for Chargebacks and Disputes
Chargebacks are a different beast altogether, mainly because they usually come with extra fees tacked on. A chargeback is when a customer goes to their bank to dispute a charge, and the bank yanks the money back from you.
Stripe will pull the disputed amount from your account and usually hit you with a non-refundable dispute fee. Here in Australia, that's typically $25.
Here’s my go-to method for dealing with this in Xero:
First, you need to account for the original sale amount being reversed. Create a "spend money" transaction in your Stripe Clearing Account for the full value of the sale. This cancels out the income you first recorded.
Next, you need to deal with that pesky fee. Create a second, separate "spend money" transaction for the $25 dispute fee. I recommend coding this to a specific expense account like "Bank Fees" or, even better, one you've created called "Chargeback Fees."
Keeping the reversed sale and the dispute fee as separate entries is non-negotiable. If you lump them together, you'll under-report your expenses and get a false picture of your business's profitability.
By following a clear, consistent process for these less-than-ideal transactions, you can navigate the bumps without wrecking your books. It's this kind of financial discipline that keeps everything balanced, even when things go backwards.
Got Questions About Stripe and Xero?
Even with the best setup, a few questions will pop up once you start using the Stripe and Xero integration day-to-day. Getting your head around the common sticking points now can save you a mountain of reconciliation headaches later on.
Here are the straightforward answers to the questions we hear most from Australian freelancers, agencies, and service businesses.
How Do I Account for Stripe Fees in Xero?
This is probably the most common question, and getting it right is crucial. Stripe always sends payouts to your bank account as a net amount. That’s your total sales with their processing fees already taken out.
To handle this cleanly in Xero, you'll need a dedicated expense account, maybe named "Stripe Fees" or "Merchant Fees". When you reconcile the payout deposit in your bank feed, you’ll match the gross sales amount against the invoices sitting in your Stripe Clearing Account. Then, you simply create a "spend money" transaction for the fee amount and code it to your "Stripe Fees" expense account. This way, you're recording your full revenue while also tracking your payment processing costs.
Can I Connect More Than One Stripe Account to a Single Xero File?
Absolutely. It's quite common for businesses that run a few different brands or serve separate international markets from Australia.
The key is to give each Stripe connection its own dedicated set of accounts in Xero. For every Stripe account you connect, you’ll need a new bank feed, a separate "Stripe Clearing Account," and its own "Stripe Fees" expense account. Keeping everything ring-fenced is the only way to avoid a bookkeeping mess and reconcile each payment stream independently.
Think of it like having separate cash tills for different parts of your business. You wouldn't mix the money from two different shops in one drawer, and the same logic applies here. Separate accounts in Xero for each Stripe feed keeps your books clean and your financial reporting reliable.
Help! My Stripe Payout Won’t Reconcile.
Don't panic. When a Stripe payout doesn't quite match your Xero records, it's almost always down to one of three things: timing differences, foreign currency conversions, or an unrecorded transaction like a refund.
If a payout is off, the first thing to do is jump into your Stripe dashboard and pull up that specific payout report. Go through it line-by-line, comparing it to the transactions in your Xero bank feed for that period. You'll often find the culprit is a refund that was processed just as the payout was being sent. To fix this, you just need to create a transaction in Xero to account for the refund. For those tiny differences caused by bank rounding, Xero’s "Minor Adjustments" feature is your best friend.
Does the Integration Automatically Handle Australian GST?
The integration helps, but it doesn't automate GST by itself. The real work is done by how you've configured your invoices and chart of accounts in Xero from the get-go.
You have to make sure your Xero invoice templates are set up with the correct Australian tax rates, like 'GST on Income' for your sales. When a client pays that invoice through Stripe, Xero just marks the payment against that invoice, which already has the GST component properly calculated.
It’s also worth remembering that Stripe's processing fees are typically classified as 'GST Free' expenses for Australian businesses. Proper setup is everything; the integration leans on your Xero settings to get GST right.
Streamlining your business is about more than just payments. Payly brings invoicing, time tracking, e-signatures, and document management together in one platform, built specifically for Australian service businesses. Stop juggling multiple subscriptions and see how an all-in-one tool can save you real time and money. Start your free 14-day trial with Payly today.
Payly Team
Sharing insights and strategies to help service businesses thrive. Follow Payly for more tips on time tracking, invoicing, and business operations.
Related Articles


Ready to streamline your business?
Join thousands of freelancers and agencies who use Payly to track time, send invoices, and get paid faster.